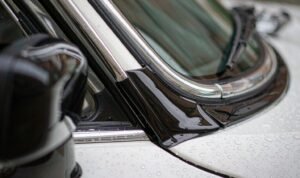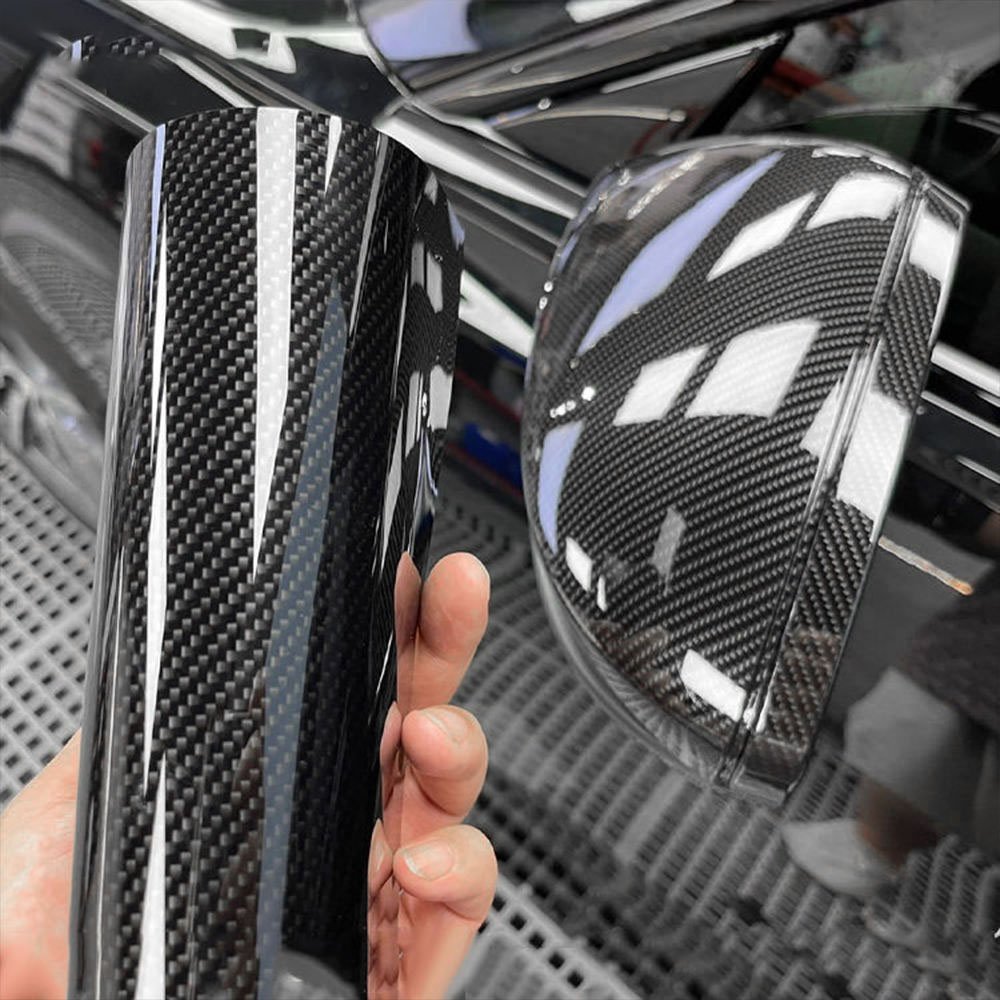
A wrap shop books chrome delete as a $850 add-on, usually bundled with a full wrap. Fourteen months later the same customer is back with lifted film on both mirror caps and a milky white line running along the window trim. The shop redoes it for free, loses a full day of bay time, and quietly writes off the add-on margin it was counting on.
Do that six times a year and chrome delete stops being an add-on and becomes a loss leader. The instinct is to blame the film — switch brands, pay more per roll, hope the next one holds. That instinct is wrong, and it costs shops money while the real cause sits untouched.
Chrome delete fails at three specific places. None of them are the film’s fault in isolation.
Failure 1: It’s rarely chrome, and it’s never clean enough
Start with what you are actually sticking to. On most vehicles built after 2015, the “chrome” is chrome-plated ABS with a clear coat, bright film laminated to plastic, or a painted piano-black insert. All three are low-energy surfaces, typically 30–38 dynes/cm, and pressure-sensitive acrylic adhesive needs to be above roughly 38 dynes/cm to wet out properly and build bond.
This is the part installers get wrong. Cleaning harder does not raise surface energy. IPA removes contamination; it does not change the chemistry of a clear-coated plastic trim. If your prep protocol is “clean twice and hope,” your failure rate is a coin toss on exactly the surfaces that matter most.
The fix is targeted, not global: a thin coat of adhesion promoter only on the low-energy pieces — mirror caps, badge recesses, bumper inserts — with 10–15 minutes flash time before application. Promoter on the whole car is wasted material and a removal headache later. Promoter on nothing is the failure you are already seeing.
Failure 2: Mirror caps are a compound curve, and PVC hates them
A mirror cap pulls in two directions at once. Film that has to stretch that far stores stress in the adhesive layer, and stored stress has one release route: an edge.
Cast PVC elongates roughly 90–120% before break, which sounds generous until you are wrapping a cap that needs 140%. TPU-based films run 180–250%, and more importantly they recover differently — they do not keep pulling back against the adhesive for years. If you are still comparing substrates, our breakdown of car wrap vinyl materials puts cast, calendered and TPU side by side on the numbers that matter here.
Practical ceiling: stay under 25–30% stretch on a chrome delete. Past that, you are not installing film, you are pre-loading a failure. If a cap needs more than 30%, it comes off the car or it gets a seam in a place nobody looks.
Failure 3: The edge has nowhere to relax
Window trim is the worst real estate on the vehicle. It is 3–5 mm wide, usually has a gap behind it, sits in direct sun, and heat-cycles to 70–80 °C on a summer afternoon. Adhesive that has not fully cured will creep under that cycle, and once an edge lifts by a millimetre, water and dust finish the job.
Two numbers control this. The first is wrap-under: 3–5 mm minimum turned behind the trim, not cut flush at the visible line. Flush-cut edges on window trim are the single most reliable predictor of a callback. The second is post-heat: 90–95 °C along the entire edge, held with pressure until cool, which relaxes the film’s memory and lets the adhesive wet out.
| What to ask | Why it matters | Typical good value |
|---|---|---|
| Film polymer | Conformability over compound curves | Cast PVC or TPU, not calendered |
| Elongation at break | Whether the mirror cap will pre-load | 150%+ (TPU 180–250%) |
| Peel adhesion (ASTM D3330) | Bond on low-energy trim | 15–25 N/25 mm after 24 h |
| Adhesion promoter | Needed on clear-coated plastic | Thin, low-energy areas only |
| Minimum wrap-under | Edge lift resistance | 3–5 mm |
| Post-heat temperature | Relaxes memory, cures bond | 90–95 °C, edges first |
| Cure window before wash | Adhesive reaching full bond | 24 h dry, 7 days no wash |
Where to say no, or price it differently
Not every chrome delete should be sold at the bundle rate. Three trims deserve their own line on the quote:
Textured black plastic. Common on lower trims and truck bumpers. It is a low-energy, porous surface with no clear coat to bond to, and film applied to it has a realistic service life measured in months, not years. Either decline it or quote it with a clear, shorter warranty.
Piano-black B-pillars. The film will hold, but the panel shows every trapped dust particle and every squeegee mark, and it scratches if the customer looks at it. Price the prep time honestly and photograph the panel at handover.
Roof rails and trim with rubber gaskets. There is nowhere to wrap under. Any install on these is a flush cut with an exposed edge, which brings you back to Failure 3. If you take the job, use edge sealer and say plainly that this section is the one to watch.
Knowing which panels to refuse is part of the margin. A shop that takes every chrome delete at the same price is effectively self-insuring against its worst surfaces.
The six-step protocol that stops the callback
Step 1 — Identify the substrate before quoting. Magnet, visual check for plating lines, and a look at the part number. If it is clear-coated plastic, the job carries a promoter step and should be priced for it. If you are new to the category, start with what a car wrapping film actually is — the substrate vocabulary alone will save you a callback.
Step 2 — Degrease, then promote selectively. IPA on everything, promoter only where the surface energy is low. Log which panels got it on the job card — future you will need to know.
Step 3 — Control the room. Below 18 °C the adhesive will not wet out properly no matter how good your technique is. Most “bad film” complaints in winter are cold-room complaints.
Step 4 — Stretch within limits, and relieve tension. Work the cap from the centre out, keep stretch under 30%, and let the film relax before you cut. A squeegee pass with heat at the end of the stretch is worth more than an extra pair of hands.
Step 5 — Wrap under, never cut flush. 3–5 mm turned behind the trim on every edge. Where geometry makes that impossible, a post-heat and a thin bead of edge sealer beats a flush cut.
Step 6 — Post-heat twice. Once during install at the edges, once at handover across the whole panel. Then hold the customer to 24 hours dry and 7 days before the first wash.
What the numbers looked like
A shop running roughly 24 chrome deletes a quarter tracked two approaches for a year. Group A used a budget calendered chrome-delete film with a clean-and-apply method. Group B used cast film with promoter on low-energy parts and the protocol above.
At twelve months, Group A had nine of twenty-four vehicles back with edge lift, mostly at the mirror caps and the rear window trim. Group B had two, both on a model with an unusually tight trim gap, and both were caught at a scheduled check before the customer noticed.
Group B’s material cost per vehicle was about $40 higher and the labour was 25 minutes longer. Nine callbacks at roughly three hours each is 27 hours of unbilled bay time per year — the $40 saved per car does not come close.
Bottom line
Chrome delete is sold as a styling add-on and delivered as an adhesion engineering problem. The shops with a clean callback record are not using magic film; they identified the substrate, promoted where it mattered, respected a stretch limit, and wrapped every edge under the trim.
Quote the prep, not the roll. A $900 chrome delete that holds for five years is a better business than a $700 one that comes back twice — and the second one is not really $700 anyway.
If you are still sourcing material for the category, our guide to waar kun je vinylfolie voor auto’s kopen? covers what to verify on a roll before it touches a customer’s trim: lot consistency, adhesive type, and the elongation figure that decides whether a mirror cap is a 20-minute job or a redo.