The corner that looked perfect at six in the evening
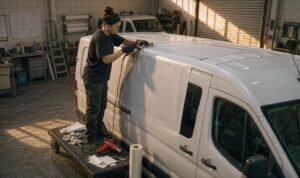
Bay three, half past five. A dark grey SUV front bumper, the deepest recess on the car — the fog lamp pocket that turns in on itself twice. The installer works alone because the second bay is finishing a full front. He warms it, pulls it around the pocket, squeegees out the slip solution, wraps the lip, post-heats, and stands back. Under the shop’s overhead LEDs the corner is invisible. That is the problem: overhead LEDs hide haze. Low sun does not.
Three weeks later the owner sends a photo taken at seven in the morning. There is a milky patch the size of a palm on that corner, and a hairline shadow where the film has stepped back two millimetres. On a dark car it reads as a scuff. The bumper gets re-done: 0.9 square metres of film, three hours of labour, and a customer who now looks at the whole car differently.
Nothing in that sequence was a mistake in technique. What was missing was a budget — a number for how much stretch that panel was allowed to consume, and a way to check it before the car left. Film will stretch far more than it will stretch well. Only one of those two numbers is on the datasheet.
Four numbers that set the budget
Start from geometry, not from the film. The panel decides how much stretch the job needs; the film only decides whether you have enough headroom. Measure the demand, then hold the material to limits you can actually verify with tools already in the shop.
Elongation headroom, not elongation at break
Every roll comes with an elongation at break figure, tested to ASTM D412. Good aliphatic TPU PPF 필름 runs 300% to 450%, with 350% a common contractual floor. That is the point at which the film tears. It is not permission.
The top coat crazes and the adhesive shears long before break. Practical limits are far lower: keep total stretch under 20-25% anywhere on a finished panel, and under 10% at any edge you intend to wrap. Films with identical break numbers can differ by a hundred points of usable range. A standard polyester TPU at 450% and a polycarbonate-based film at around 187% behave nothing alike in a fog lamp pocket, and the second is not defective — it is a flat-panel product asked to do a compound curve.
Direction matters too. Machine direction takes more before it fails than cross direction, and stretch built into the cross direction on a bumper will pull back from the top edge for six months.
Haze, measured to ASTM D1003
A good clear film sits between 0.6% and 1.5% haze out of the box; premium runs come in under 1%. Haze is the first optical property to fail, because stretching thins the top coat and aligns the polymer chains in the direction of the pull.
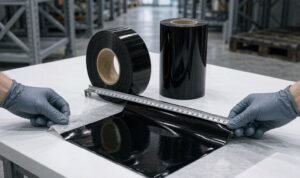
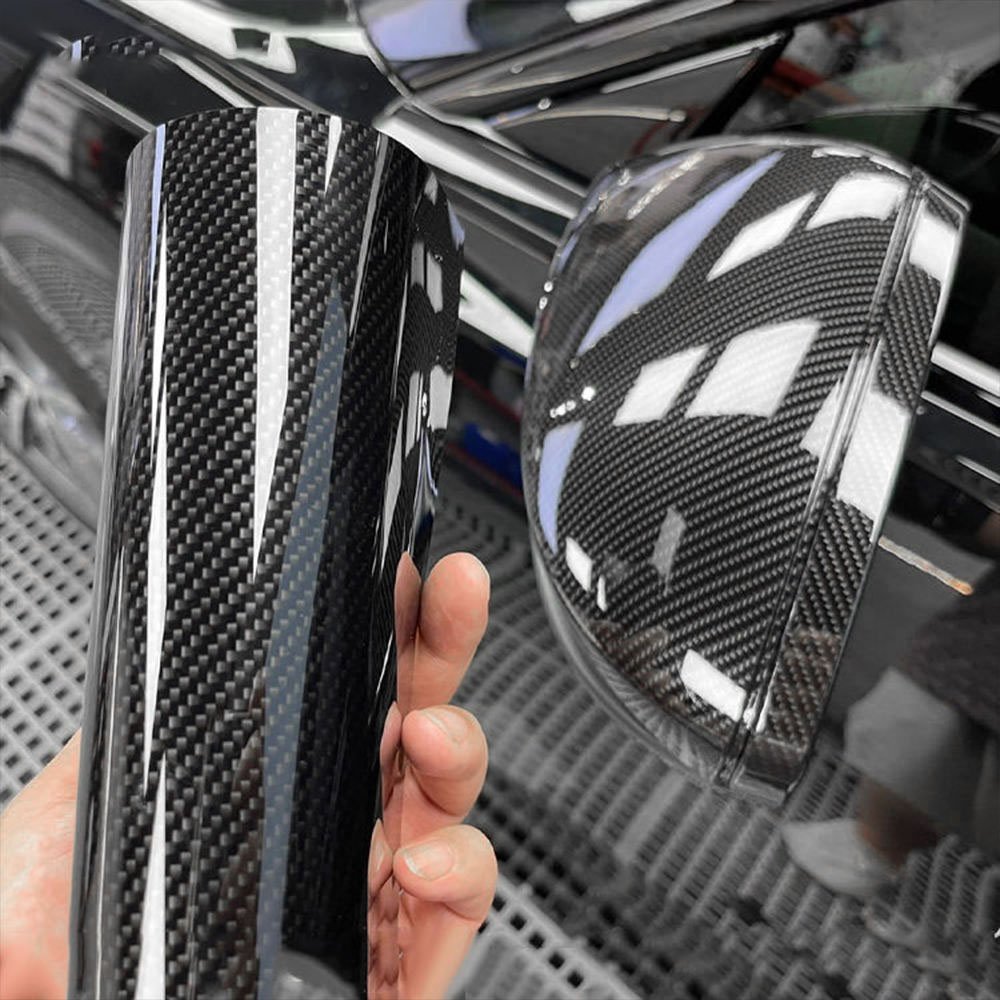
Cap it in writing: no more than one percentage point of added haze between an unstretched control and the finished area. On a clear TPU PPF job over black paint, one point is visible in raking light. The cheap check needs no instrument: keep a 100 × 100 mm offcut, lay it flat on glass, and compare it against the installed corner in low sunlight.
Caliper thinning, to ASTM D374
Film does not thin linearly under stretch; it thins by area. A nominal 200 µm (8 mil) film pulled 25% in one direction lands near 180 µm. Pull it 40% and you are around 168 µm. That 30 µm is your stone-chip margin, and it disappears from the panel where stone chips actually arrive.
Measure with a micrometer at five points before laying and at the three worst spots after. Anything more than 10% below nominal — the usual thickness tolerance — has already spent protection you charged the customer for.
Spring-back, which is stored tension
Tension left in the film is what lifts edges in week six. Cut a 25 × 200 mm strip, mark 100 mm, stretch it to 130 mm, hold ten seconds, lay it on release liner and measure after a minute.
Healthy film comes back to 106-108 mm. Film that settles past 112 mm has been worked beyond recovery and will keep pulling at whatever edge is weakest. Run this on an offcut before you commit a bumper, then repeat it on the finished panel edge.
What to ask, and what counts as a pass
| What to ask | Why it matters | Acceptable range |
|---|---|---|
| Elongation at break, with test method | Sets the outer limit, not the working limit | 300-450% (ASTM D412); insist the method is printed |
| Working stretch on the finished panel | Drives haze, caliper and stored tension at once | Under 20-25% anywhere; under 10% at wrapped edges |
| Added haze versus an unstretched control | First visible failure on dark paint | Δhaze ≤ 1.0 point (ASTM D1003) |
| Caliper before and after installation | Remaining stone-chip protection | Within 10% of nominal, e.g. 200 µm stays above 180 µm (ASTM D374) |
| Peel adhesion after 24 hours | Tells you whether a lifted edge is the film or the prep | 600-1200 N/m (ASTM D3330) |
| Spring-back after a 30% pull | Predicts edge lift in the first 90 days | Recovers to 106-108 mm within 60 s |
| Forming temperature at the film surface | Above the window, gloss goes patchy and cannot be recovered | 45-60 °C while forming; keep under 70-75 °C |
Running a budget on a real car
Step 1 — Measure what the panel demands. Tape a 100 mm grid across the recess before you cut anything. After the film is laid, measure the same grid through the film. 100 mm becoming 128 mm means that spot consumed 28%. Five minutes, no instruments.
Step 2 — Match film to panel, not to car. High-stretch TPU on bumpers, mirror caps and intake surrounds. Standard TPU or a lower-elongation film on hoods, roofs and rockers, where demand is usually under 10%.
Step 3 — Split the load when demand is over 25%. Two pieces with the seam in a shut line, or a relief cut inside the intake where nobody looks. Same logic that governs why PPF edges lift within 90 days — the edge is only the messenger.
Step 4 — Heat inside a window, not with a blast. Form at 45-60 °C surface temperature, measured with an infrared gun rather than estimated by hand distance. Above 70-75 °C the top coat can flow, and flowed top coat does not come back.
Step 5 — Log the three worst spots. Caliper and a haze comparison photo, taken at a low angle in daylight. This is the file that ends arguments in month four.
Step 6 — Post-heat and re-check. 90-100 °C for 10-15 seconds per 100 mm along the wrapped edge, then repeat the spring-back test at the edge itself, not on a fresh offcut.
Two panels, one roll, one invoice
Same roll of 8 mil clear TPU, same installer, same car: a flat front fender and the bumper corner. Samples pulled on a jig gave an indicative curve — haze 0.7% at zero stretch, 0.8% at 10%, 1.1% at 20%, 2.7% at 30%, 5.4% at 40%; caliper 202 µm, 192 µm, 184 µm, 175 µm, 168 µm. That shape is geometry, not brand marketing, and yours will look similar.
The fender needed 8% and finished at +0.1 point of haze and 196 µm. No callback.
The bumper corner was pulled in one pass at 31%. It finished at +2.0 points of haze, 172 µm, and an edge that stepped back 2 mm in week three. The re-do cost 3.2 hours and 0.9 m² of film. The second attempt, two pieces with the seam inside the intake, peaked at 12% stretch, measured +0.3 points, and took 3.5 hours with zero returns.
The difference between the attempts was nineteen minutes and one decision made before the knife came out.
The position
A datasheet sells you a film’s best day. The stretch budget decides whether the customer still sees that day in year three, and it is the one variable the installer fully controls. Ask for elongation, haze and caliper with the test methods printed beside them — a specification without a method column is a story with numbers attached. Suppliers who publish methods are telling you which questions they expect you to ask, and that is the shortest route to a TPU PPF range you can defend on a dark car in morning light.